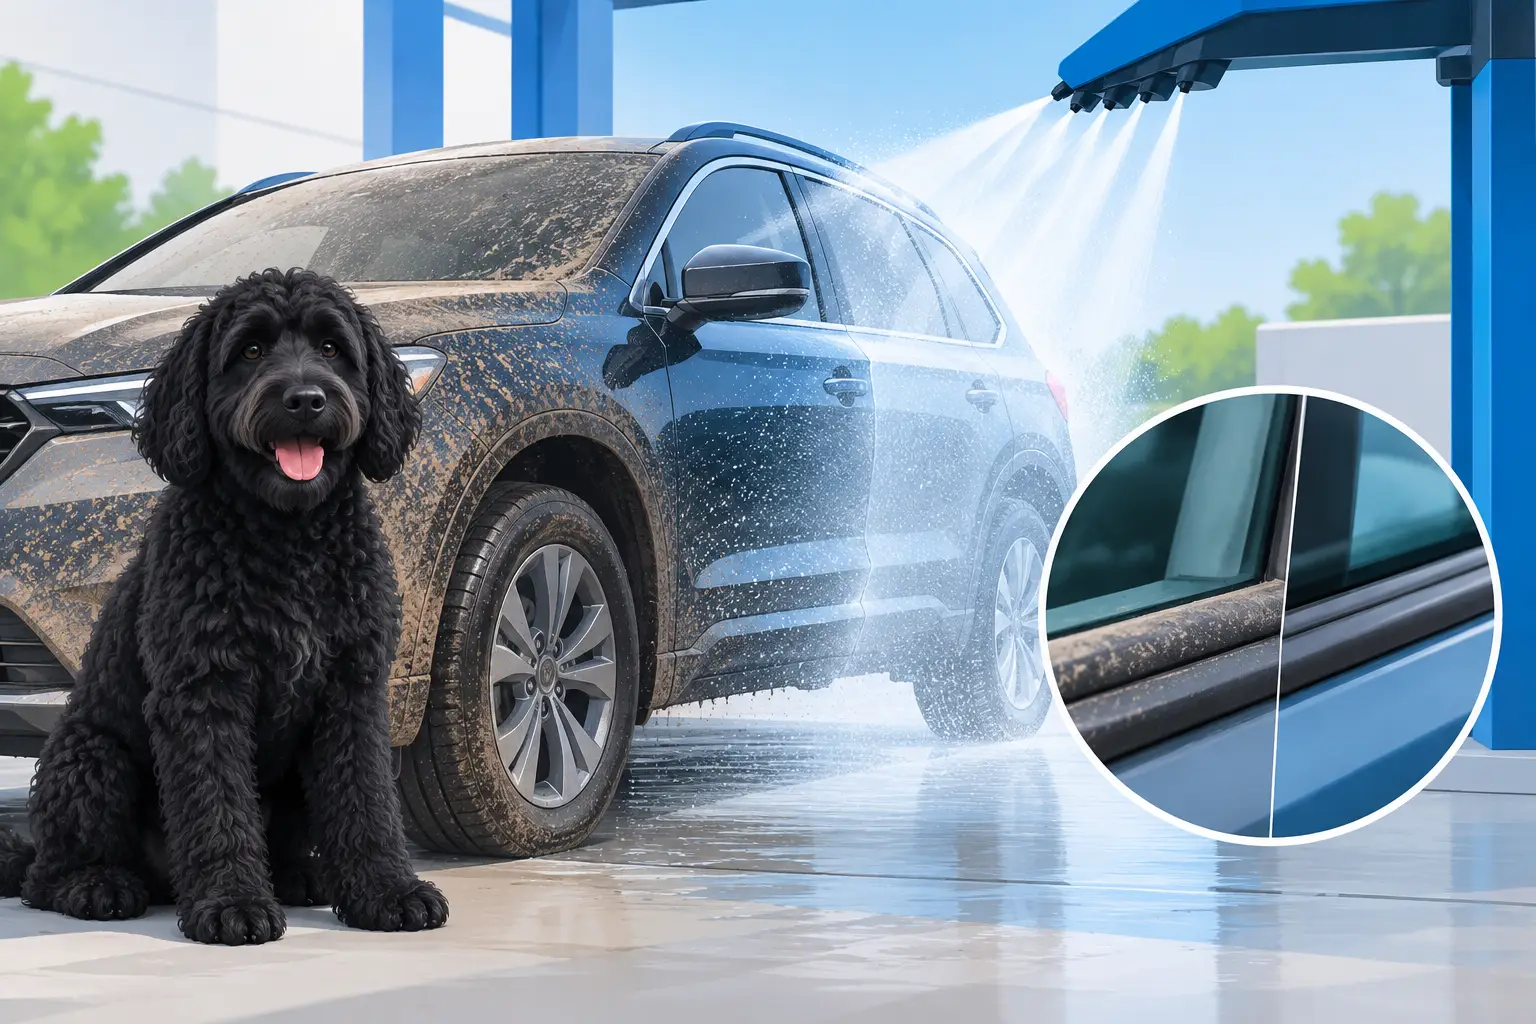
Road salt does not stay politely on the road. It collects around door openings, hatch seams, and window channels, where it can leave rubber seals dirty, dry, and prone to sticking. This guide to cleaning car seals gives New Hampshire drivers a practical way to care for weatherstripping between regular washes - especially after winter storms, muddy spring roads, and heavy pollen season.
Car seals are easy to overlook because they sit just inside the areas most drivers do not inspect closely. Yet they help keep rain, wind, road noise, and outside air out of the cabin. A few minutes of routine care can help them stay flexible and make getting in and out of your vehicle a little less messy.
Your Guide to Cleaning Car Seals
Most vehicles have rubber weatherstripping around the doors, trunk, hood, sunroof, and sometimes the windows. These seals are designed to compress when the panel closes, creating a barrier against moisture and debris. They are durable, but they are not indestructible.
Salt, grit, tree sap, oily residue, and old cleaning product can build up on the rubber. In winter, moisture on a dirty seal can freeze and bond the door shut. In warmer months, dried dirt can act like fine sandpaper each time the door closes. The goal is not to make every seal shine. It is to remove contaminants gently, keep the rubber from drying out, and spot problems before they become leaks.
A touchless wash is a smart first step because it rinses loose grime from the vehicle without brushes dragging debris across the finish. Pay attention to the lower door areas and the gaps around the hatch or trunk. Afterward, open the doors and inspect the weatherstripping by hand. The wash handles the broad cleanup; a quick manual wipe takes care of the protected surfaces a wash cannot fully reach.
What You Need Before You Start
You do not need a cabinet full of detailing supplies. Gather a clean microfiber towel, a soft detailing brush or soft toothbrush, a bucket of clean water, and a mild car-safe soap. A dedicated rubber or weatherstrip protectant can be useful after cleaning, particularly before a New Hampshire winter.
Avoid household degreasers, bleach, abrasive pads, and strong solvents. They may cut through grime quickly, but they can also strip protective material from rubber or leave it dry and brittle. Glass cleaner is not automatically the right choice either, especially if it contains alcohol or ammonia. When in doubt, use a product labeled safe for automotive rubber and follow its directions.
If the seals are covered in thick mud or road salt, rinse the area first. Wiping heavy grit directly across rubber can grind debris into the seal and the painted door jamb. A regular exterior wash, including a touchless wash at Black Dog Car Wash, makes the detailed work faster and cleaner.
Clean One Door at a Time
Start with a cool vehicle parked out of direct sun. Hot rubber and hot metal can cause soap or protectant to dry too fast, leaving residue behind. Open one door and look at the full path of the weatherstrip. Some seals sit on the door itself, while others run around the body opening. Clean both surfaces where rubber meets metal.
Dampen your microfiber towel with a mild soap-and-water solution, then wipe the seal with light pressure. Fold the towel as it picks up dirt so you are not moving grime from one section to another. For creases and corners, use a soft brush gently. There is no prize for scrubbing hard. The rubber should feel clean, not scuffed or fuzzy.
Next, wipe away soap with a second towel dampened only with clean water. Dry the seal thoroughly, including the corners and the bottom edge where moisture collects. Take a moment to clean the painted jamb and the door edge as well. Dirt trapped there can transfer right back onto the seal the next time you close the door.
Repeat the process around the other doors, trunk or liftgate, hood, and sunroof if your vehicle has one. Window run channels are a special case. These narrow seals can collect dust, but they are easy to damage with a stiff brush or tool. Use a lightly dampened microfiber wrapped around a thin plastic trim tool, or clean only the accessible edge. Never force anything deep into the channel.
Apply Protectant Sparingly
Once the rubber is clean and dry, a rubber-safe protectant can help restore a supple feel and reduce the chance of seals freezing or sticking. This is most useful in late fall and throughout winter, when repeated freezing and thawing put extra stress on weatherstripping.
Apply a small amount to an applicator pad or microfiber towel rather than spraying directly onto the vehicle. Wipe a thin, even film across the rubber, then buff off excess. The seal should not be dripping, greasy, or slick. Too much product can attract dust, smear onto clothing, or transfer to glass and paint.
Silicone-based products are common for weatherstripping, but product choice depends on the vehicle and the formula. Some drivers prefer water-based rubber conditioners because they leave a more natural finish. Either can work when used correctly. The better choice is the one specifically labeled for automotive rubber, used in moderation, and compatible with your vehicle manufacturer's recommendations.
Do not apply protectant to areas where it could affect traction or visibility. Keep it off brake pedals, floor mats, tires, windshield glass, and camera lenses. If product gets on painted surfaces, wipe it off promptly with a clean towel.
Check for Damage While You Clean
Cleaning is also your chance to catch a seal that needs more than conditioner. Look for cracks, torn sections, loose clips, flattened spots, or areas that have pulled away from the door frame. A seal that is permanently crushed may no longer make consistent contact when the door closes.
Watch for signs inside the vehicle, too. Damp carpet near a door, fogging that seems worse after rain, wind noise at highway speeds, or water in the spare-tire well can point to a weatherstrip, drain, or body-seam issue. A dirty seal does not always cause a leak, and a new seal will not solve every water problem. If you find repeated moisture, it is worth having the vehicle inspected rather than guessing.
For an older vehicle, be especially gentle. Aged rubber may look fine until aggressive cleaning exposes cracks beneath the surface. Clean it, dry it, use a compatible conditioner if appropriate, and replace damaged weatherstripping when it can no longer seal properly.
Make Seal Care Part of Your Seasonal Routine
How often should you clean car seals? For most drivers, a thorough cleaning two to four times per year is enough. The schedule changes with conditions. If you drive through salted roads often, check the seals more frequently in winter. If you park under trees, deal with pollen and sap as needed in spring and summer. After a beach trip, rinse away sand and saltwater residue soon after you get home.
A simple routine works well: wash the exterior regularly, inspect seals when you vacuum or clean the interior, and condition them before the first hard freeze. It takes far less time than dealing with a frozen door on a dark January morning. Beau's practical rule applies here: if the door sticks more than your dog does near a treat jar, the seal deserves attention.
Keep a clean microfiber towel in the vehicle during winter. If a door begins to stick, gently wipe away moisture and loose ice around the opening. Do not yank the door open, pry at the seal with a metal tool, or pour hot water on frozen weatherstripping. Sudden heat can refreeze, and force can tear the rubber or pull it from its mounting.
Clean, flexible weatherstripping is a small detail that pays off every time the weather turns. Give it a few careful minutes after the grime is gone, and your doors, hatch, and windows will be better prepared for whatever New Hampshire puts on the road next.