Road salt has a way of finding every groove in a mat. So do beach sand, muddy cleats, dog hair, crumbs, and the gravel that rides in on New Hampshire boots all winter long. Knowing how to vacuum car floor mats properly makes a noticeable difference in how your vehicle looks, smells, and feels between full cleanings.
The good news: you do not need a trunk full of detailing supplies. A strong vacuum, a few extra minutes, and the right order of operations will handle most everyday messes. The key is to get loose debris out before it becomes packed into carpet fibers or trapped under the edges of rubber mats.
Start by Taking the Mats Out
It is tempting to vacuum around the mats while they are still in the vehicle. That is quick, but it leaves behind the dirt that collects underneath, especially near the seat tracks, door sills, pedals, and center console.
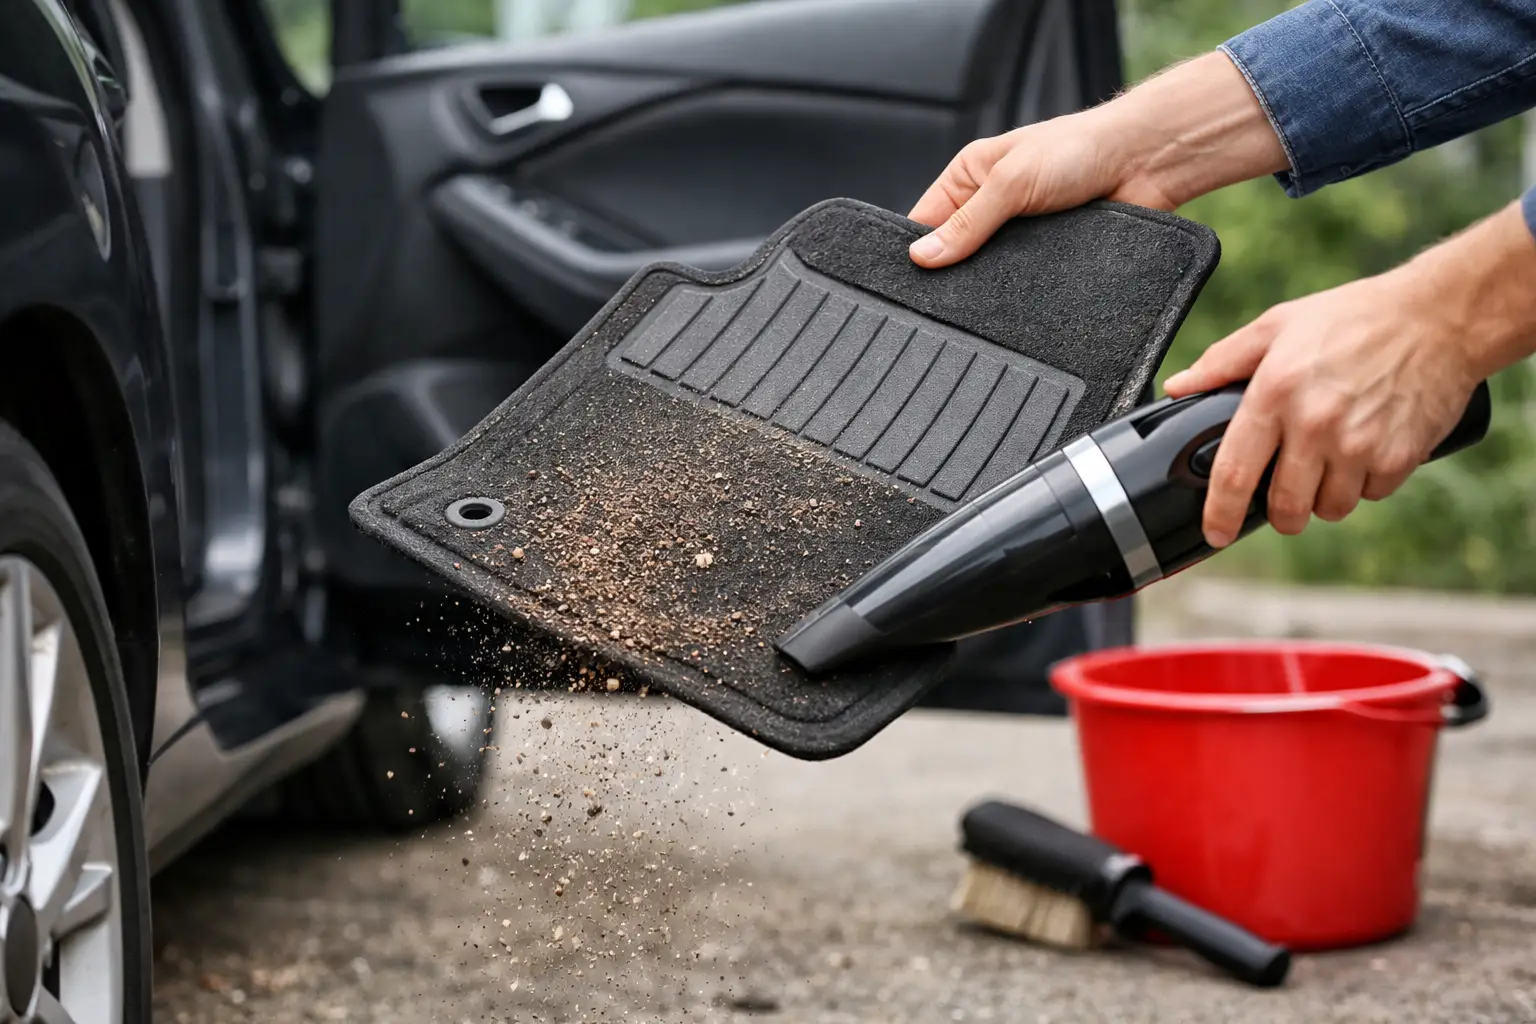
Park somewhere safe, turn off the vehicle, and remove the mats one at a time. Check that they are not secured by retention clips or hooks before pulling. Give each mat a firm shake away from the car to remove loose sand, salt crystals, leaves, and larger debris. A few taps against a solid surface can help, but do not beat thin carpet mats aggressively enough to damage their backing.
Once the mats are out, vacuum the exposed floor first. This prevents dirt from the vehicle floor from landing on a freshly cleaned mat later. Work from the back of the footwell toward the door so debris has one clear direction to travel.
How to Vacuum Car Floor Mats Efficiently
Set the mat on a clean, flat surface. Start with a slow pass across the entire mat rather than immediately attacking one dirty spot. A powerful vacuum works best when its nozzle has time to pull debris up from the fibers, so slow, overlapping strokes beat fast passes every time.
For carpeted mats, vacuum in more than one direction. The pile of the carpet can hold dirt differently depending on which way it lies. Go front to back, then side to side. Pay extra attention to the heel area under the pedals and the outer edge nearest the door, where moisture, salt, and grit tend to build up.
Use a narrow nozzle for seams, raised edges, embroidered logos, and the areas around retention holes. Those spots collect debris because a wide vacuum head cannot make full contact. If the mat has deep grooves or a textured pattern, guide the nozzle along each channel instead of passing across the top and hoping for the best.
Do not forget the underside. It may not look as dirty, but gravel, pet hair, and damp debris can cling there. Cleaning both sides also helps keep that material from transferring right back to the vehicle floor.
At Black Dog Car Wash, high-powered vacuum stations make it easier to handle the kind of everyday mess that comes with commuting, school drop-offs, weekend errands, and New Hampshire weather. Beau would probably say the dog hair is a feature, not a problem. Your passengers may disagree.
Carpet Mats Need a Little More Patience
Carpet mats hide dirt well until they do not. If the vacuum is pulling less debris than expected, lift the carpet fibers gently with a stiff interior brush, then vacuum again. You are not trying to scrub the mat into submission. The goal is simply to loosen compacted particles so the vacuum can remove them.
A rubber brush can also work well for stubborn pet hair on carpet mats. Move it in short strokes to gather hair into a small area, then vacuum it up. This is often more effective than repeatedly passing the nozzle over the same hair-covered section.
Avoid soaking carpet mats just to deal with ordinary dust or salt. Excess water can leave them damp for too long, create odors, or transfer moisture back into the vehicle. If a mat needs a deeper wash, clean it separately and let it dry completely before reinstalling it.
Rubber and All-Weather Mats Are Different
Rubber mats are built to trap water, mud, slush, and melted snow, which makes them especially useful during a New Hampshire winter. They are also easier to clean, but their deep channels can hold more grit than they appear to.
Shake out the loose debris, then vacuum along the grooves and around the raised lip. If the mat is dry, vacuuming may be all it needs. If mud or salt residue has dried onto the surface, vacuum first, then rinse or wipe it separately. A vacuum removes dry material well; it cannot replace washing away stuck-on film.
Before putting rubber mats back in, make sure the underside is reasonably dry and free of pebbles. Small stones underneath can slide around, wear into carpeting, and keep the mat from sitting flat.
Handle Salt, Sand, and Stubborn Messes in the Right Order
Salt is one of the biggest reasons vehicle interiors look worn before their time. It tracks in as white residue, settles into carpet, and can spread when wet boots hit the floor. Vacuuming dry salt crystals early is much easier than trying to remove them after repeated exposure to moisture.
For a salty carpet mat, let it dry first if possible. Then brush the affected area lightly and vacuum slowly from several directions. If a white stain remains, it may need a dedicated interior cleaner or a controlled mat wash. Vacuuming is still the first step because it removes loose grit that could otherwise be rubbed deeper into the fibers.
Sand behaves differently. It is heavy, sharp, and persistent. Tilt the mat slightly while vacuuming so loose grains move toward the nozzle, especially around seams and raised borders. Do not grind sand around with a brush before vacuuming it. That can push it farther into carpet fibers.
For food spills, sticky spots, or damp mud, remove the solid material first and allow the area to dry before vacuuming. A vacuum is designed for dry debris. Pulling wet material through it can leave residue in the hose and reduce performance for the next driver.
Build a Quick Mat-Cleaning Routine
You do not need a full interior detail every week to keep the cabin in good shape. A short vacuum routine after a wash, a storm, or a muddy weekend can prevent the buildup that turns into a much larger cleaning job.
A practical routine is to shake and vacuum the mats whenever you notice visible grit, then vacuum underneath them every few visits. During winter, check more often. Salt, slush, and sand can pile up quickly, particularly in the driver footwell.
If you carry kids, pets, sports gear, or work equipment, focus on the areas those activities affect most. The passenger-side rear floor may need more attention than the driver mat after school pickup. A vehicle used for job sites may need frequent rubber-mat cleaning but very little carpet care elsewhere. Clean for how you actually use your car.
Know When Vacuuming Is Not Enough
Vacuuming keeps mats tidy and removes the debris that causes most of the daily mess. It will not repair a mat with worn-through carpet, curled edges, cracked rubber, or a broken retention point. A mat that will not stay in place can interfere with pedal operation, so it is worth replacing rather than trying to force it flat.
It is also time for deeper cleaning when odors persist after vacuuming, stains remain in carpet fibers, or mats feel damp underneath. In those cases, remove the mats, clean them with the right product for their material, and allow complete drying before they go back in the vehicle.
A clean floor mat is a small thing, but it changes the whole cabin. Next time you stop for an exterior wash, take a few extra minutes at the vacuum station. Your floors will look better, your car will feel more cared for, and the next load of road salt will have less of a head start.